
Why Bad Lighting Ruins Winter Fashion Photos — And the Fix Under $60
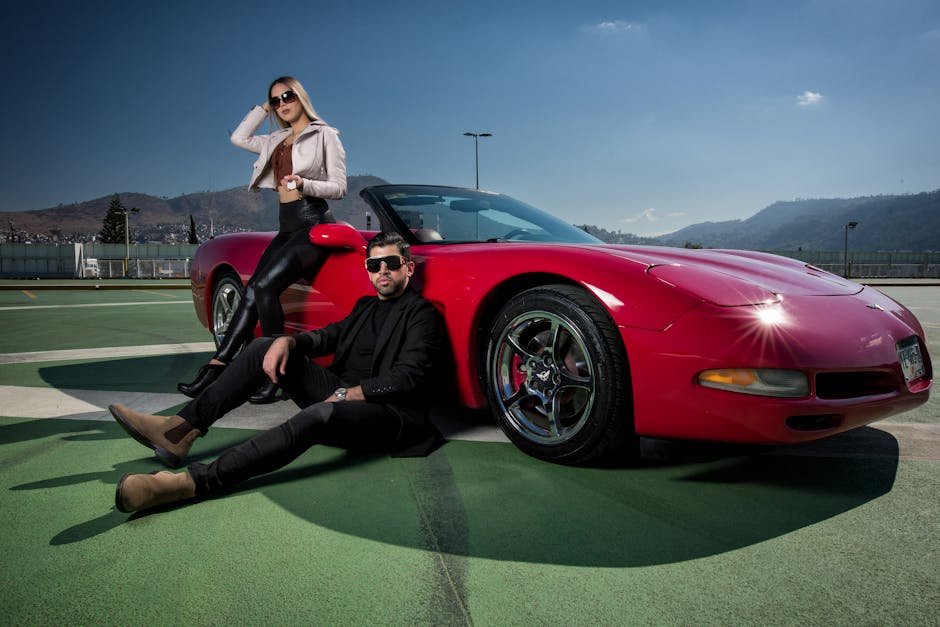
It’s 6:45pm on a Thursday. You’ve spent an hour assembling the perfect layered winter look — tall cognac lace-up boots, a cream turtleneck, a camel wool coat. You stand in front of your living room wall, take 50 photos, and open them on your laptop.
Every single one looks like it was shot inside a cardboard box.
The boots read as muddy brown instead of rich cognac. The coat has an orange tinge. The whole outfit looks flat and shapeless, like a passport photo taken at a DMV. You try editing in Lightroom. You try VSCO. Nothing fixes it.
The camera isn’t the problem. Your phone is fine. The issue is your light — and it’s a fixable problem with a surprisingly inexpensive solution.
The Real Reason Home Lighting Destroys Fashion Photos
Most people troubleshoot the wrong thing. They upgrade their phone, buy a new editing app, or blame the outfit. The actual culprit is almost always the quality, temperature, and direction of their light source.
Color Temperature Is Silently Shifting Your Colors
Light has a measurable color, expressed in Kelvins (K). Natural midday sunlight sits around 5500K–6500K — that clean, blue-white light that makes colors accurate and skin tones healthy. Most residential bulbs — incandescent, warm LED, and especially those builder-grade ceiling fixtures — output between 2700K and 3200K.
That’s amber light. Deep amber. And it shifts every color in your frame.
Under 2700K light, cognac leather reads as brown-orange. Cream knit reads as beige. Cool-toned grays pick up a greenish cast. Your phone’s auto white balance tries to correct for this, but it’s making an educated guess, not a calibrated measurement — and for fashion photography, a guess isn’t good enough when boot color accuracy is the whole point.
Winter Makes the Daylight Problem Worse
Natural window light solves color temperature problems, but only when it’s available. In winter, that window closes fast. By 4:30pm in most of the northern US, the light outside has gone from daylight to blue-gray to nothing. By the time most people get home from work, change, and are ready to shoot, they’re working entirely on indoor artificial light.
That’s not a minor inconvenience — it’s the core structural problem with winter fashion photography for anyone who doesn’t shoot professionally with controlled studio gear. The six-month window where you need the most winter outfit content is exactly the six months when natural light disappears earliest.
Direction Shapes the Subject — And Ceiling Lights Get It Wrong
Ceiling-mounted lights shine straight down. For full-length fashion shots, this is close to the worst possible angle. Overhead lighting flattens the upper body, creates heavy chin and collarbone shadows, and leaves the lower half of the frame — where your boots live — darker than the top.
The result is an image where the face looks reasonable and the boots look like they were shot in a different, worse photo. Boot texture, toe shape, shaft height — all the details that justify featuring a specific pair — disappear into murk.
Studio photography solves this by placing a front-facing light source at roughly eye level, slightly elevated and slightly off-center. That angle reveals texture across the full frame, separates the subject from the background, and creates the gentle directional shadow that makes flat fabric look three-dimensional. You don’t need a studio to replicate this. You need one well-positioned light.
The Honest Verdict on Dedicated Photography Lights
Most lights marketed specifically to content creators are overpriced for what they deliver below $200. The Elgato Key Light ($199) is genuinely excellent for desk-level video calls and streaming. For full-body fashion shots, it’s mediocre — narrow coverage area, insufficient output for anything beyond a headshot. You’re paying a premium for a brand name built around a completely different use case.
What Fashion Creators Are Actually Using for Portable Lighting
Are Ring Lights Worth Buying for Outfit Photography?
Ring lights dominate the visual language of beauty content for a reason — the circular light wraps around the lens and nearly eliminates facial shadows. For close-up beauty shots and skincare content, they work well. For full-length winter outfit photography, they fall apart at exactly the wrong moment.
An 18-inch ring light — the Neewer 18″ LED Ring Light runs about $50–$70 — throws enough light to illuminate your torso but fades out before reaching floor level. Your coat looks fine. Your boots are in shadow. That gradient from lit to dark makes full-length shots look amateur regardless of the outfit quality.
Ring lights also create a distinctive circular catch light visible in any reflective surface — polished leather boots, glossy accessories, even eyeglass lenses. In portrait work that catch light reads as intentional. In outfit-focused photography, it’s a distraction that keeps pulling the viewer’s eye away from the look.
Softbox Kits: Better Quality, Real Trade-offs
A proper softbox kit — the LimoStudio 700W 2-Light Kit at $80, or a Godox SL-60W paired with a softbox at around $120–$140 total — delivers genuinely soft, directional, flattering light that fashion photographers have used for decades. Softboxes diffuse the light source through a white panel, removing harsh shadows and creating even coverage across a full-body frame.
The trade-offs are real. Most softbox kits take 10–15 minutes to fully assemble and break down. They require overhead clearance. They don’t compress into a portable form. If you’re shooting in your bedroom Monday, your entryway Wednesday, and outside on the front steps Saturday, you’re looking at 45 minutes of cumulative setup time per week. For most people, that’s enough friction that the kit ends up in a closet after the first month.
What Actually Gets Used vs. What Stays in the Box
The most valuable piece of photography gear is the one you’ll actually use. A $40 light that takes 90 seconds to set up and gets used five times a week outperforms a $200 softbox that spends six months in a storage bag.
This is where the industrial work light category becomes worth serious consideration — not as a budget compromise, but as a genuinely better solution for portable, multi-location home shooting.
Setting Up a Home Fashion Studio with Portable Work Lights

LED work lights built for job sites, garages, and outdoor construction have characteristics that happen to map directly onto what fashion photography needs: high raw lumen output, adjustable multi-head designs, tripod mounts for variable height positioning, and IP66 weatherproof ratings that make outdoor winter shooting possible in conditions that would destroy standard photography equipment.
Why the 21,000 Lumen 3-Head Setup Is the Right Call
The 21,000 lumen 3-head LED work light on adjustable tripod stand runs $55.99 — and at that output level, it floods a full room with enough clean light to let a smartphone camera shoot at ISO 100. That matters because low ISO means no grain, and no grain means boot stitching, fabric texture, and leather sheen are all captured accurately instead of smoothed over by digital noise.
Three independently adjustable heads give you light-shaping flexibility that single-head options can’t match. Aim one head at the background to eliminate the flat-wall effect. Point two heads at the subject from slightly different angles to reduce harsh shadow lines. Or concentrate all three on a single point for intense, high-contrast editorial lighting. That’s three different lighting setups from one piece of gear.
The IP66 waterproof rating means this runs in snow. Real snow. Winter outdoor location shots — a front door step, a brick sidewalk, a snowy park bench — are all possible without a waterproof case or a covered shelter. Set the tripod on packed snow, angle the heads, and shoot.
Positioning for Full-Length Winter Outfit Shots
Place the tripod at 10 o’clock relative to where you’ll stand — about 45 degrees off-center, roughly 5–6 feet away. Extend the tripod to its maximum height, then tilt the heads downward at a 30-degree angle. This is the classic 45/45 studio position: 45 degrees off-axis horizontally, 45 degrees above eye level vertically.
For boot detail specifically, angle the lowest head of the 3-head array more steeply downward, aimed at the lower third of your frame. The extra head in the 3-light version exists precisely for this kind of zone-specific adjustment — something a 2-head setup can’t do without sacrificing upper-body coverage.
3-Head vs. 2-Head Work Lights: Output Comparison
| Feature | 21,000 Lumen 3-Head ($55.99) | 14,000 Lumen 2-Head ($45.99) |
|---|---|---|
| Total Output | 21,000 lumens | 14,000 lumens |
| Adjustable Heads | 3 independent | 2 independent |
| Waterproof Rating | IP66 | IP66 |
| Best Room Size | Medium to large rooms, open outdoor spaces | Small rooms, narrow hallways, compact setups |
| Background Lighting | Yes — dedicate one head to the background | Limited — both heads needed for subject coverage |
| Outdoor Winter Use | Yes — snow and light rain safe | Yes — snow and light rain safe |
| Tripod Included | Yes, adjustable height | Yes, adjustable height |
| Rating | 4.4/5 — 309 reviews | 4.4/5 — 309 reviews |
| Verdict | Best overall — marginal price difference, significantly more flexible | Solid for small-space dedicated setups |
The $10 gap between these two is not the deciding factor. The deciding factor is head count. With three heads, you can light the background and the subject simultaneously without buying a second unit. With two, you’re choosing one or the other.
For a small bathroom or narrow corridor where you’re standing 3 feet from the wall, the 14,000 lumen 2-head version is more than enough — 21,000 lumens in a tight space becomes genuinely overwhelming. But for anything larger, the 3-head unit is the clear pick.
Step-by-Step: Shooting Winter Outfit Photos at Home Tonight
- Choose a plain background. A white or light grey wall works perfectly. Light reflects back from pale walls, brightening the overall frame without additional gear. Avoid wood panels, busy wallpaper, or anything with strong horizontal lines — they compete visually with vertical fashion silhouettes.
- Set up the tripod at 45 degrees off-center. Standing in your shoot spot, place the light at 10 o’clock. Extend the tripod to full height — typically around 6 feet — then angle all heads downward at a 30-degree tilt toward where your body will be positioned.
- Aim the lowest head at the lower third of the frame. This is the boot zone. Take a test shot and zoom into the lower third on your screen. Boot texture, toe shape, and heel detail should be clearly visible. If anything looks murky, tilt that bottom head more steeply downward.
- Lock your phone camera to manual or Pro mode. Set ISO to 100. Set shutter speed to 1/100 or faster to prevent motion blur. With 21,000 lumens in the frame, you won’t need a high ISO — the light does the work your camera would otherwise compensate for by raising grain.
- Use a Bluetooth shutter remote or your phone’s self-timer set to 3 seconds. This eliminates camera shake from pressing the button. The iPhone’s built-in volume button works as a shutter trigger when using the rear camera through the standard Camera app. A $8 Bluetooth remote is even cleaner.
- Shoot in burst mode, 3–5 frames per pose. Natural micro-variations between frames give you genuine options. Pick the frame where your hands, coat hem, and boot toe are all positioned most naturally — not just the most flattering face angle.
- For outdoor winter shots, stake the tripod directly into packed snow. IP66 means rain and snow don’t touch the electronics. You can shoot in active light snowfall. For golden-hour exterior shoots, use the work light as a fill light against the warm sky — it balances exposure between the warm ambient light and your subject without the flat look of shooting in pure overcast.
Quick Comparison: Which Lighting Option Actually Works for Winter Fashion
- Elgato Key Light ($199): Best-in-class for desk video and streaming. Narrow coverage, low output for full-body shots, not portable. Wrong tool for fashion photography.
- Neewer 18″ Ring Light (~$60): Works for beauty and face-forward content. Fades before reaching boot level on full-length shots. Creates distracting circular reflections on leather and polished surfaces.
- LimoStudio 2-Light Softbox Kit ($80): Genuinely flattering, diffused light quality. 15-minute setup, not weatherproof, bulky storage. Best for a fixed dedicated studio space.
- Godox SL-60W + Softbox (~$130): Professional output and quality. The right choice for a fixed home studio with regular weekly use. Not portable.
- 21,000 Lumen 3-Head Work Light ($55.99): Highest raw output at this price, three independently adjustable heads, IP66 for outdoor winter use, 90-second setup. Best all-around pick for anyone shooting in multiple locations or outdoors.
- 14,000 Lumen 2-Head Work Light ($45.99): Right-sized for small rooms and narrow spaces. Fewer adjustment options but lower price and easier placement in confined areas.
